How to Do a Braid Bun Easy
How To Do A Braided Bun Tutorial
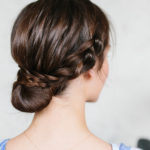
This braided bun hair tutorial is so easy, it's a great low updo that is really easy to do yourself. It's a great everyday look, but stylish enough to wear to events and it stays put all day long!
Servings 1
- elastic hair bands
- hair spray
- bobby pins
-
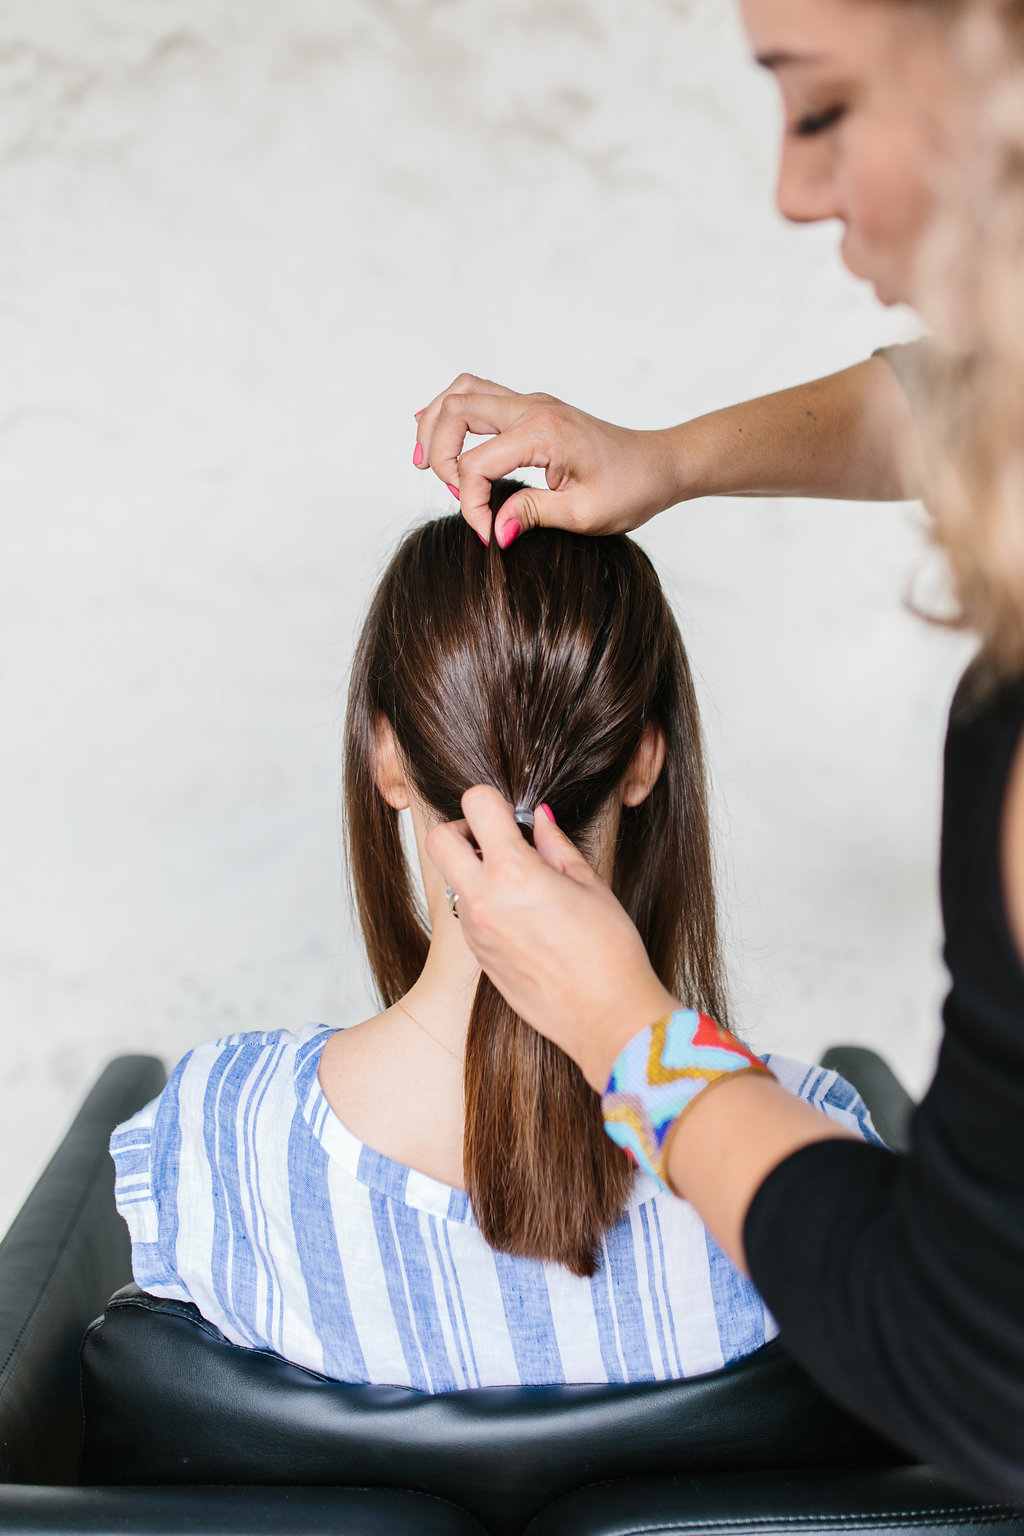
Begin by sectioning hair from the ear forward on both sides, leaving small face-framing sections for the braids.
-
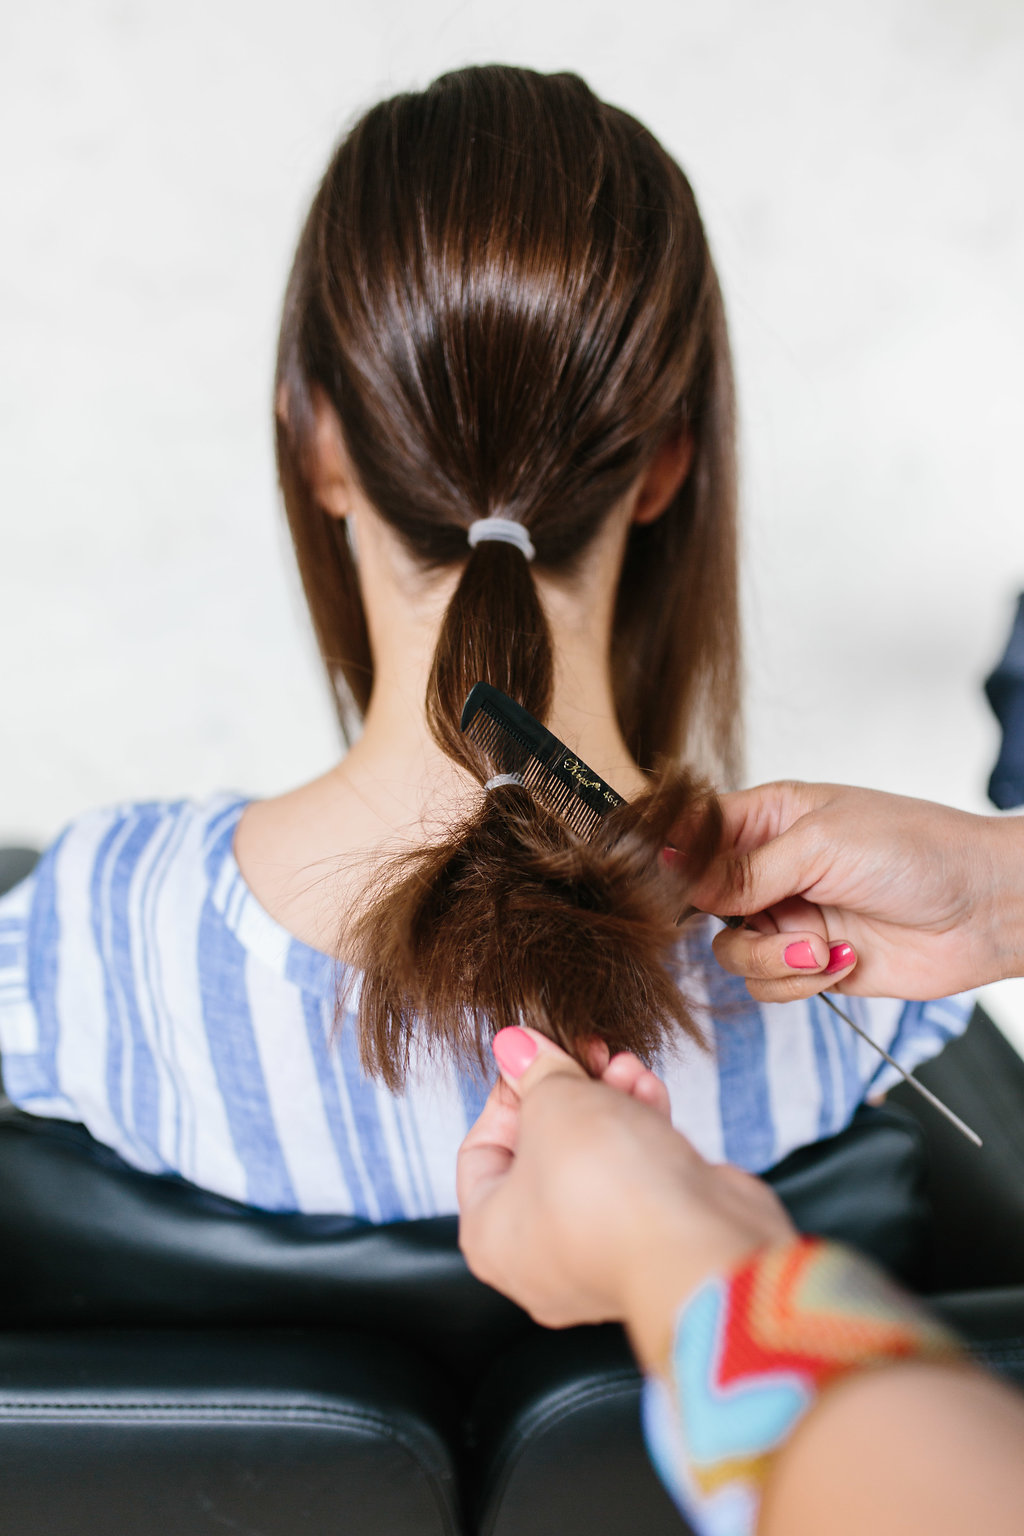
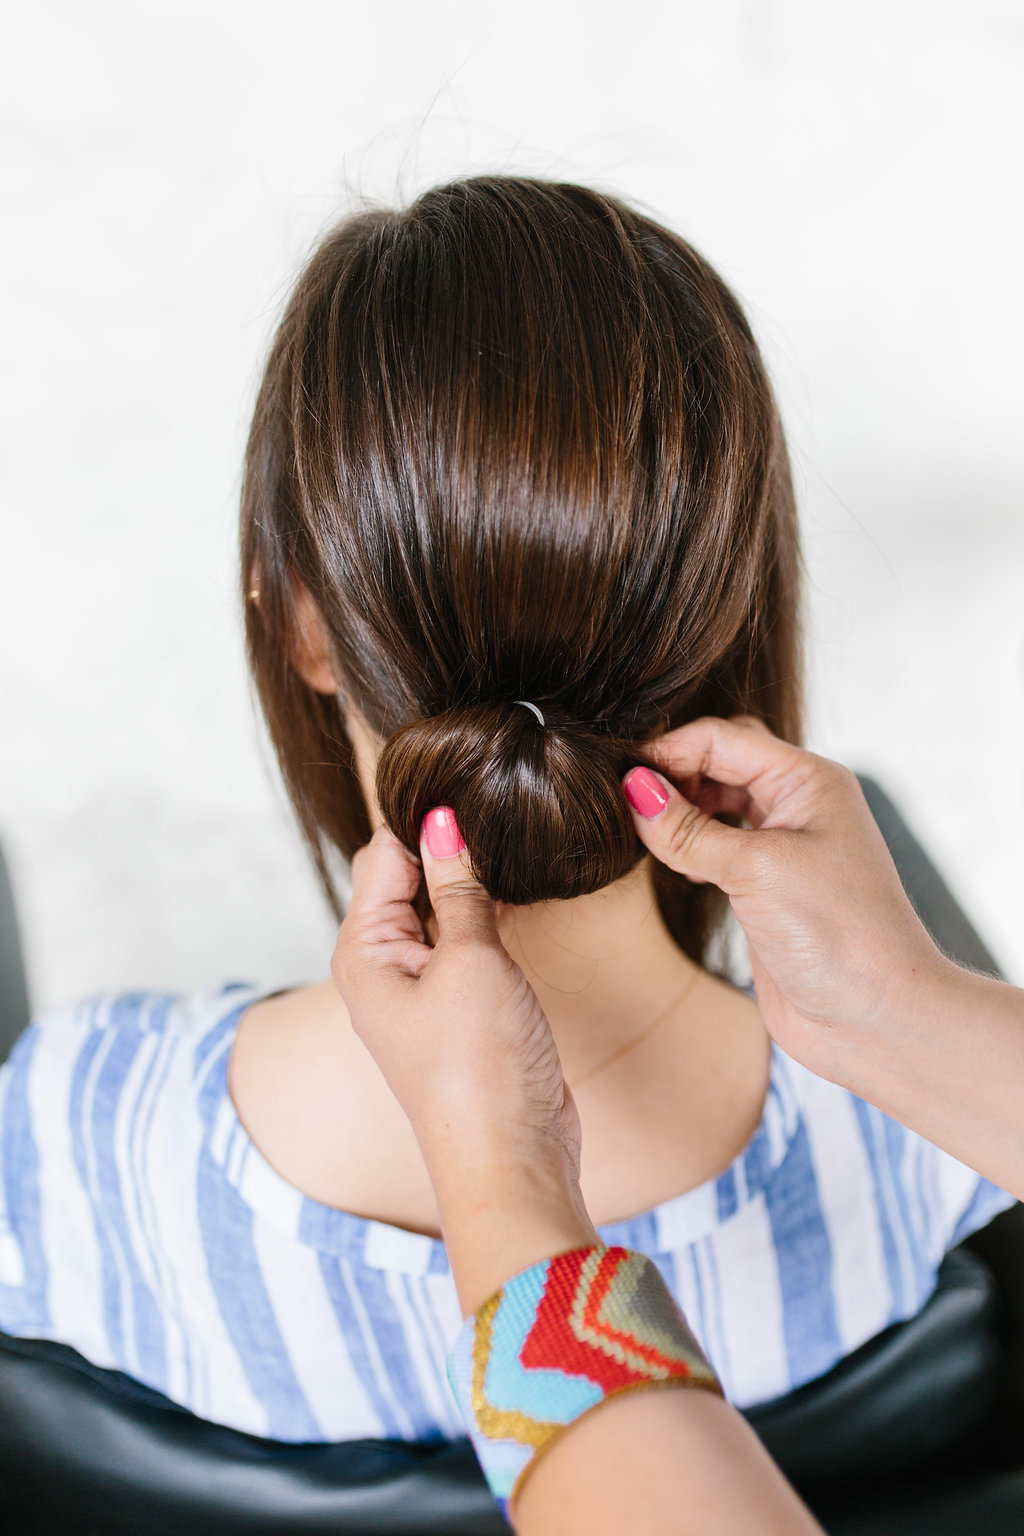
Pull the rest of the hair into low pony close to nape of neck , pinch and pull to tease the top of the hair, for a messier undone look.
-
Add another elastic a couple of inches down from the first one, tease the hair on the bottom out of the elastic, tuck it in and roll up to give more fullness in bun. Bobby pin the bun on the sides - the messier the better for that effortless look.
-
Using a classic three strand Dutch braid (where the hairs go under instead of over), braid remaining side pieces of hair, then pinch and pull at braids to make them fuller and messier.
-
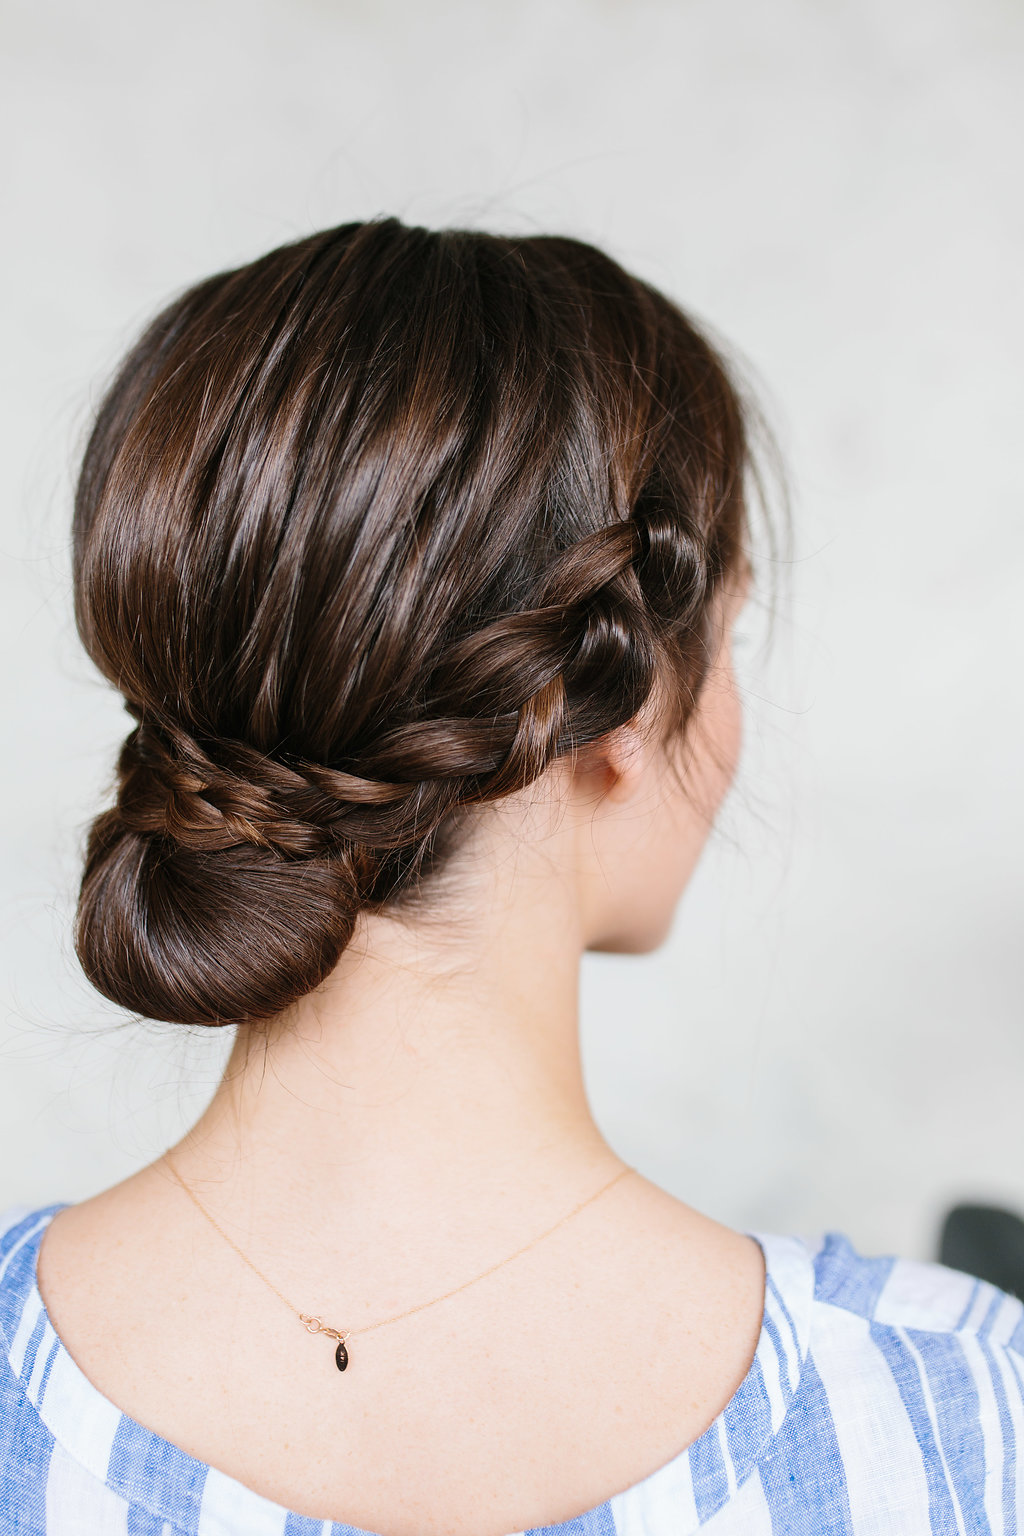
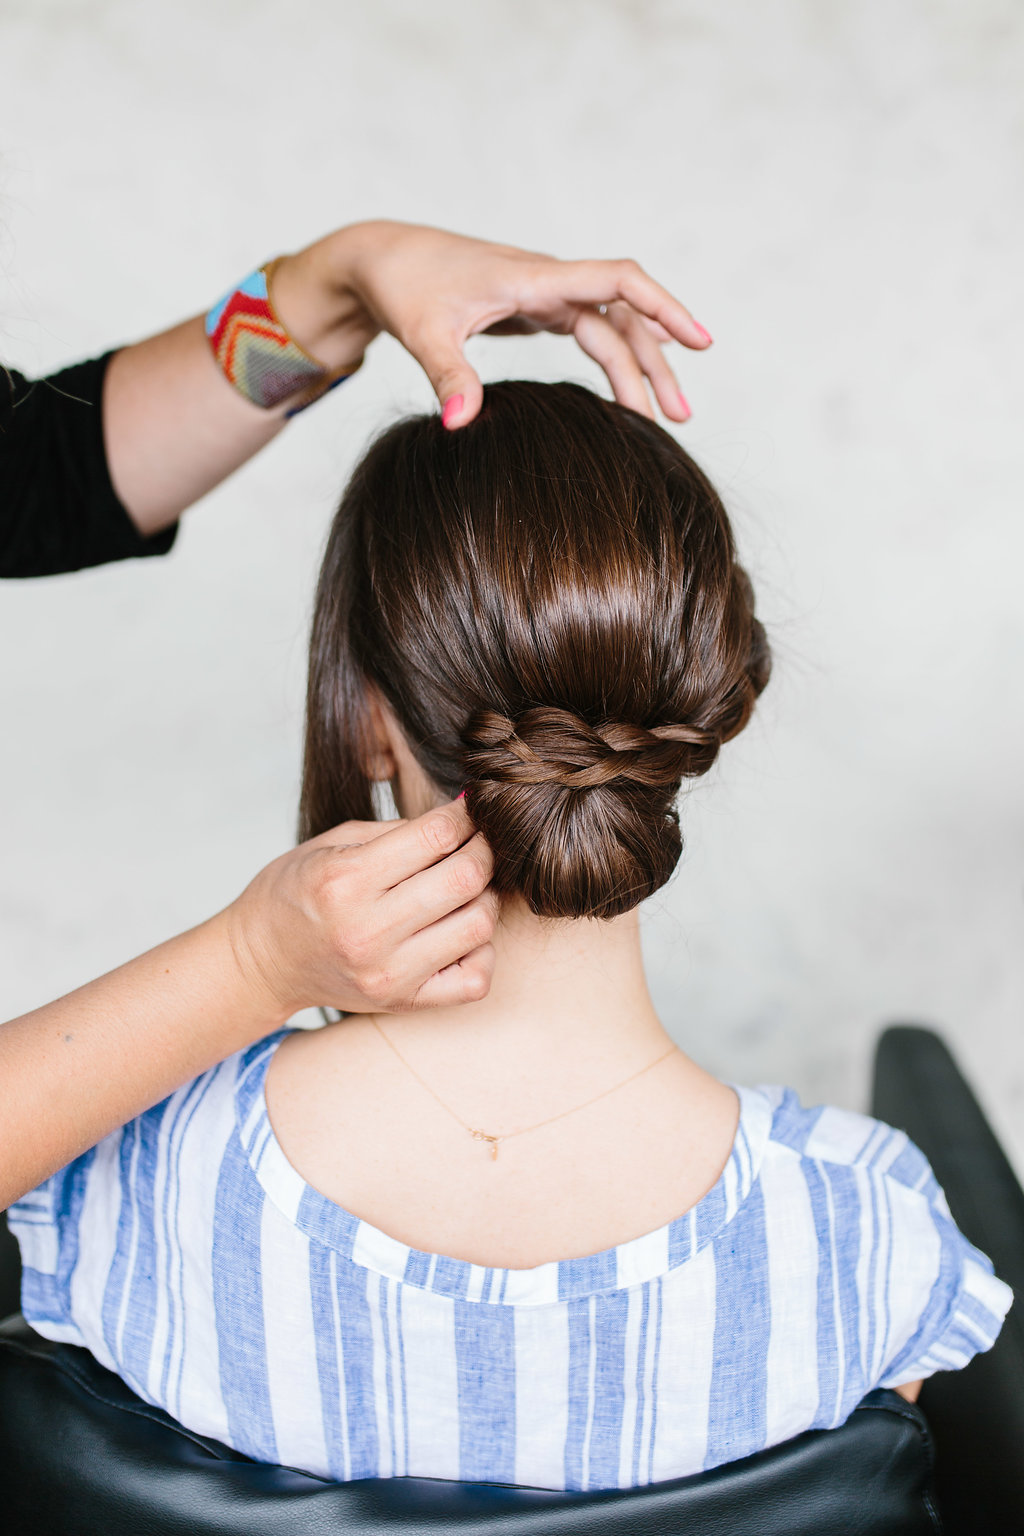
Wrap braids across the top of the bun to the opposite side and bobby pin underneath bun. Lightly spray with hair spray to hold.
This braided bun hair tutorial is a great simple updo that is really easy to do yourself. It's a easy and effortless for an everyday look, but elevated enough for wedding hair and it stays put all day long! Follow this step by step photo tutorial for a sleek and stylish look.
After spending the last couple of days in California, I was reminded how much I love an effortless look. I find myself gravitating towards simple color palettes, often tonal with a lot of layers and textures. Similarly, my get-ready routines have been pared down lately, too. I love effortless hair that doesn't take a lot of styling. Updos are great for the summer for keeping you cool, but they also require no heat styling and look really effortlessly stylish. Keep reading for one of my favorites, the braided bun tutorial.
An easy up hairstyle
If you're looking for an easy hair style to start the week, this is for you! (Plus, it's perfect for second or third day hair if you don't feel like shampooing this morning.) Also, it's a great reminder that Oktoberfest began over the weekend which is a great excuse to visit your local beer garden... as if we needed another one.
More hair tutorials here!

How To Do A Braided Bun Hair Tutorial - step by step with photos
- Begin by sectioning hair from the ear forward on both sides, leaving small face-framing sections for the braids.
- Pull the rest of the hair into low pony close to nape of neck , pinch and pull to tease the top of the hair, for a messier undone look.
- Add another elastic a couple of inches down from the first one, tease the hair on the bottom out of the elastic, tuck it in and roll up to give more fullness in bun.Bobby pin the bun on the sides - the messier the better for that effortless look.
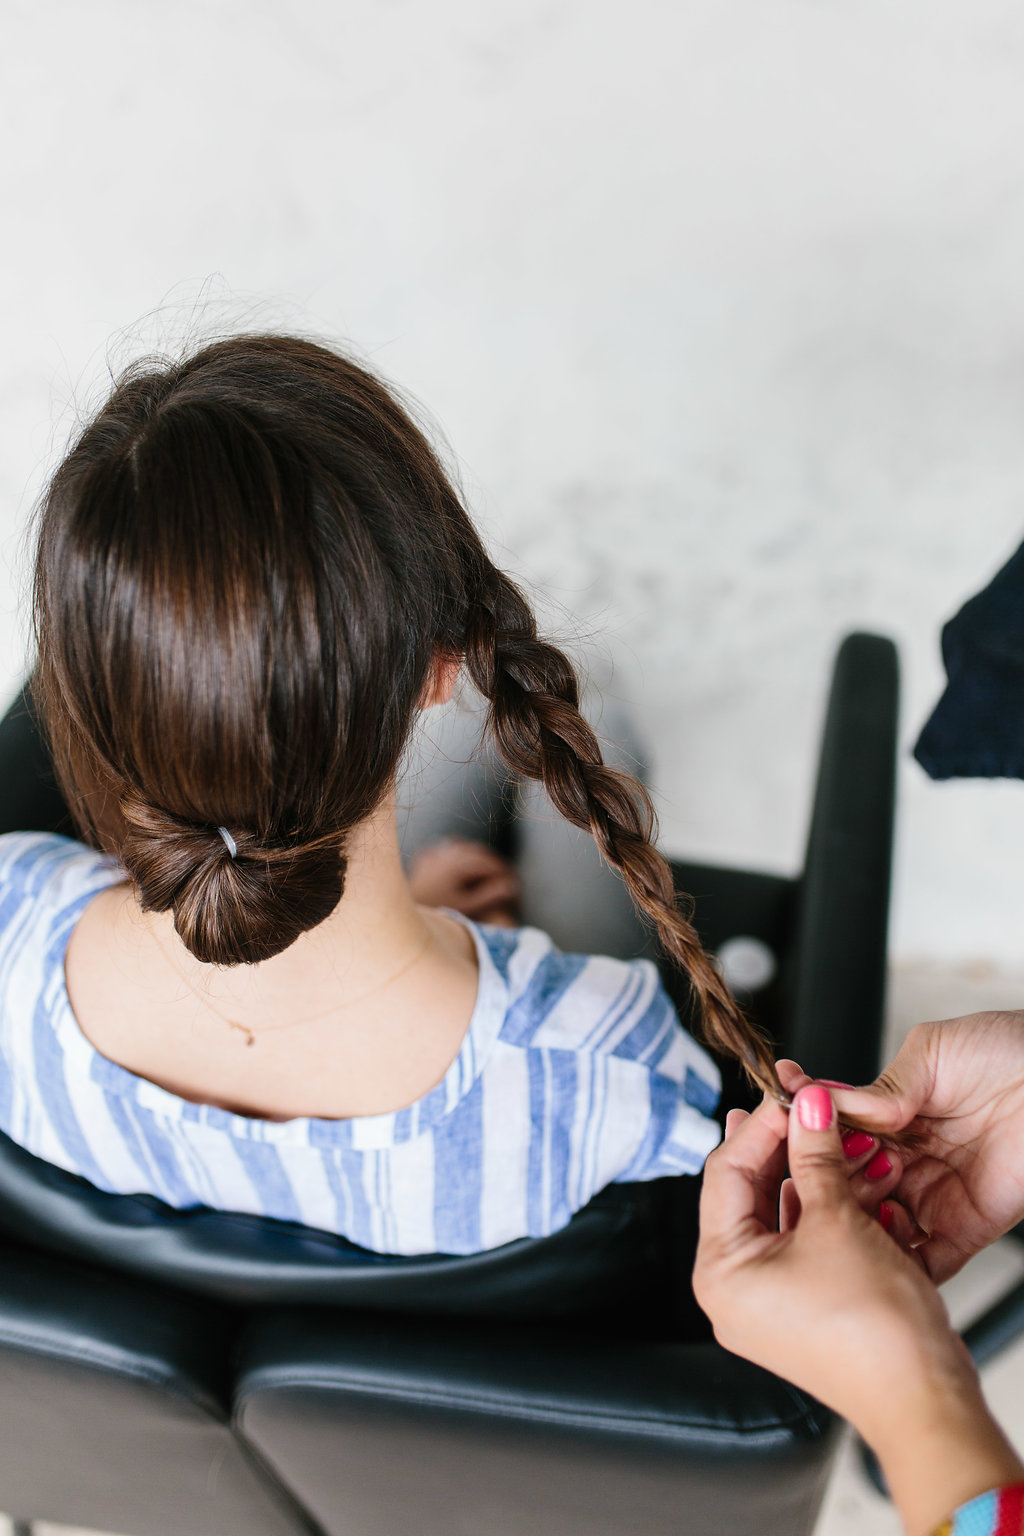
4. Using a classic three strand Dutch braid (where the hairs go under instead of over), braid remaining side pieces of hair, then pinch and pull at braids to make them fuller and messier.
5. Wrap braids across the top of the bun to the opposite side and bobby pin underneath bun. Lightly spray with hair spray to hold.

Photography by Katie Jameson
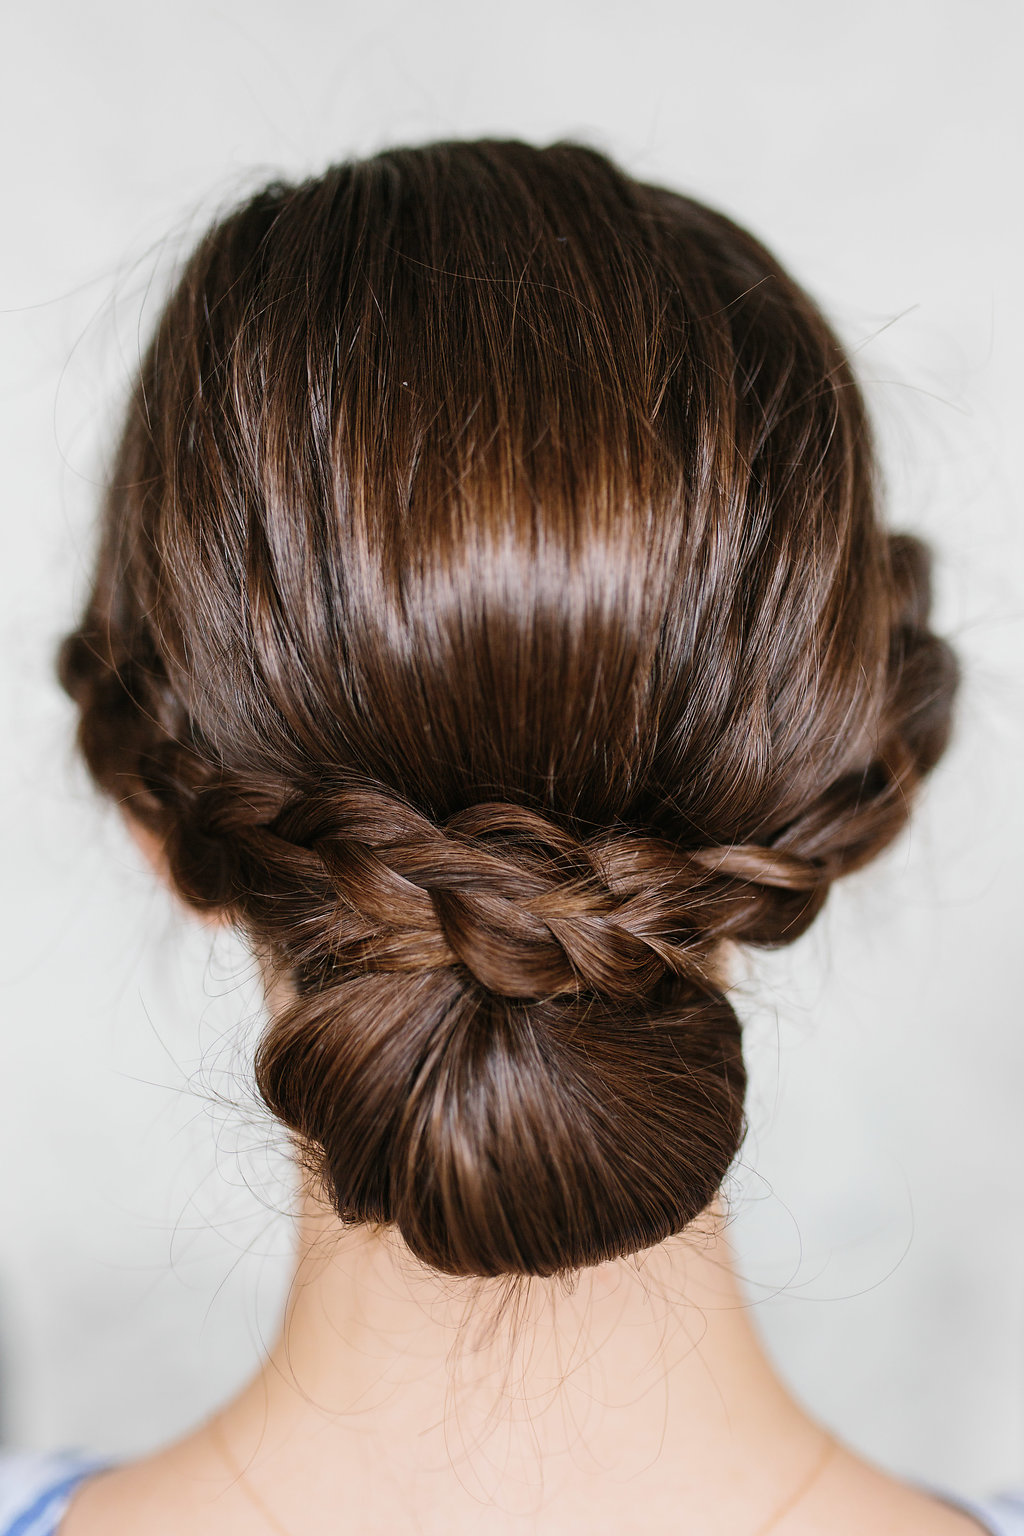
This braided bun tutorial is so easy!
I love how easy and effortless this updo is, I promise you it won't take more than 10 minutes, and even better, it's easy enough to do yourself! It's a great way to get your hair up without going over the top!
A fun Oktoberfest hairstyle
Okoberfest is upon us, and this is a great style to wear if you are going to any events. This style stays put so it's great if you are planning a long day out.
Check out these other easy braided hairstyles!
- Easy Triple Braided Updo Tutorial
- How to French Braid Your Hair
- 10 Best Braid Tutorials
- Wonder Woman Braid Tutorial
- Fuller Braids: The Trick I Learned on Set that makes every Braid better
- Easy Hairstyles for Kids
I love hearing from you! If you have tried this braided bun, be sure to let me know in the comments below!
How To Do A Braided Bun Tutorial
This braided bun hair tutorial is so easy, it's a great low updo that is really easy to do yourself. It's a great everyday look, but stylish enough to wear to events and it stays put all day long!
Yield: 1
- elastic hair bands
- hair spray
- bobby pins
-
Begin by sectioning hair from the ear forward on both sides, leaving small face-framing sections for the braids.
-
Pull the rest of the hair into low pony close to nape of neck , pinch and pull to tease the top of the hair, for a messier undone look.
-
Add another elastic a couple of inches down from the first one, tease the hair on the bottom out of the elastic, tuck it in and roll up to give more fullness in bun. Bobby pin the bun on the sides - the messier the better for that effortless look.
-
Using a classic three strand Dutch braid (where the hairs go under instead of over), braid remaining side pieces of hair, then pinch and pull at braids to make them fuller and messier.
-
Wrap braids across the top of the bun to the opposite side and bobby pin underneath bun. Lightly spray with hair spray to hold.
Reader Interactions
sinclair-maclaganedway1997.blogspot.com
Source: https://theeffortlesschic.com/oktoberfest-braided-bun-hair-tutorial/